spring transition.

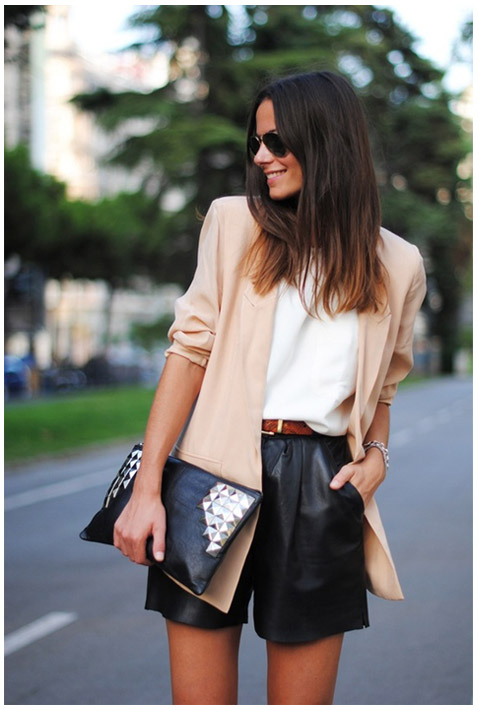
As spring time quickly approaches and the temps warm up, I've been dreaming up new ways to take key pieces in my wardrobe and transition them.  While we all know that I love a good maxi dress with a blazer or sweater thrown on top as I head out the door, I'm also loving this look.  I just recently picked up a pair of faux leather shorts and I think they'd look amazing with a simple white tee and oversized blazer.

{shorts}

a throw.

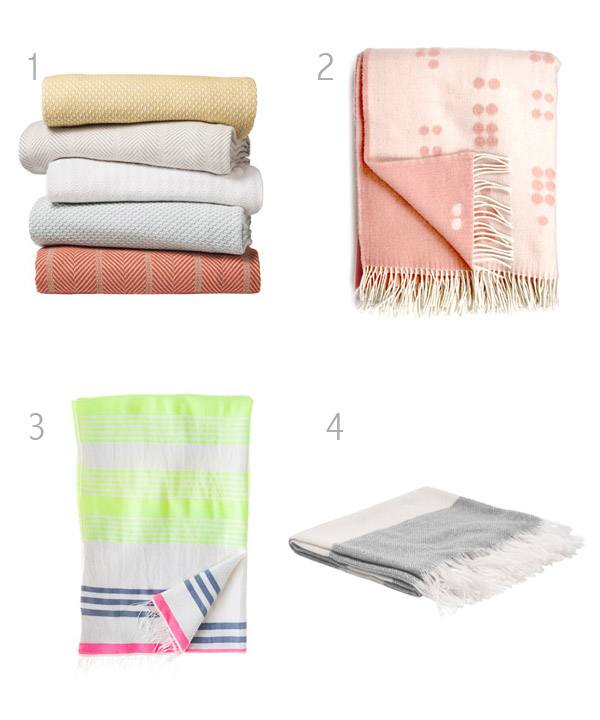
Every night after we've finished up dinner, G and I sit down on the sofa to chat, watch a movie, or read a book.  It's such a nice time of the evening to just relax and gear up for the following day.  Ummm and what's the first thing I do when I plop myself down?  I reach for a throw.  I'm all about pulling out my fave blanket.  I think any of the below would certainly be a nice little addition to my stockpile.  And most of them can double as beach blankets during the summer...double yay!

{1}, {2}, {3}, {4}

10 things.

A few weeks ago I was tagged via instagram to list 5 things about me that you might not know.  I thought it was so much fun that I wanted to list the 5 items here and add 5 more.  Enjoy getting to know me a bit more.

the original 5:

{1} I'm naturally blonde.

{2} I used to swim competitively.

{3} I honestly really love cold weather.

{4} I met my husband when we were only 18.

{5} The only food I dislike (but everyone else seems to love) is steamed artichokes.

and 5 more:

{6} I am very close with my family.  I talk to at least one of them (mom, dad, sister, and brother) every day.

{7} I have zero sleeping problems (I fall asleep as soon as my head hits the pillow and rarely wake up at night). I had no idea how rare this was until I was an adult and met many friends with sleeping issues. 

{8} When I was a kid, I wanted to grow up and be a dolphin trainer.

{9} I love watching Law & Order.

{10} I've always dreamed of going to Africa.

blush goodness.

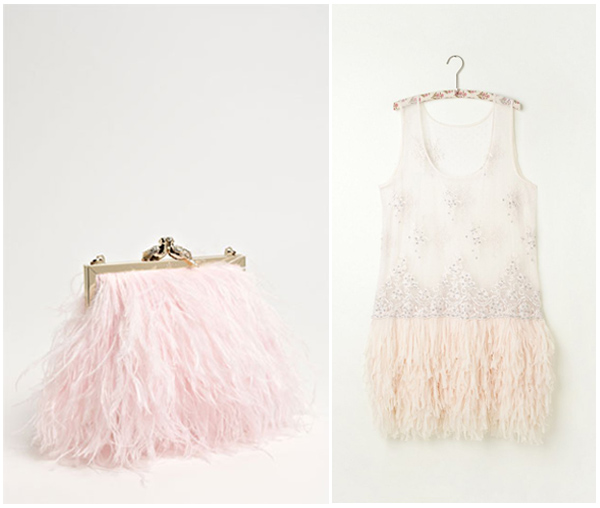
I mean, come on...I really really really truly feel like I need both of these goodies.  I'm certainly a sucker for anything with feathers so that clutch is kind of begging to find it's way to me.  And that dress is so delicate and oh so pretty.

{clutch}, {dress}

slouchy.

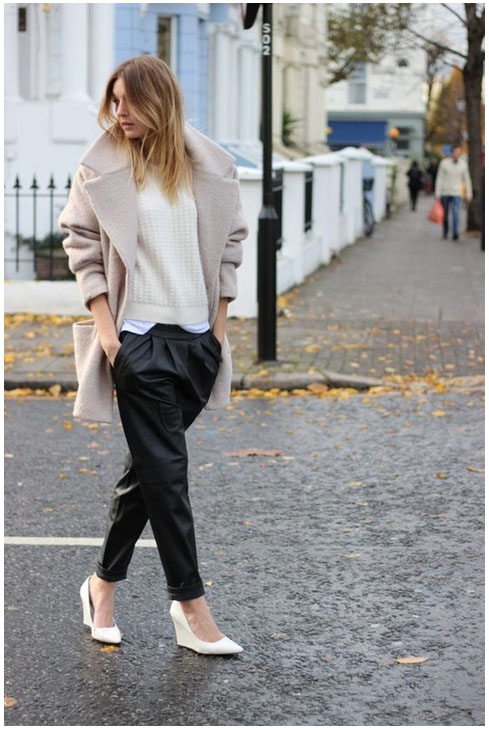
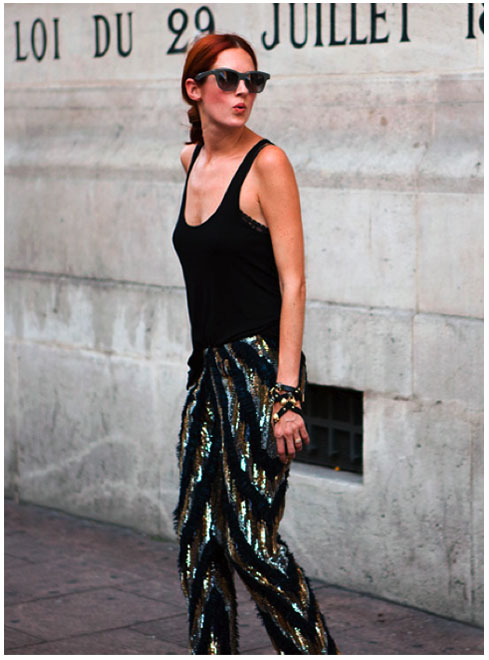
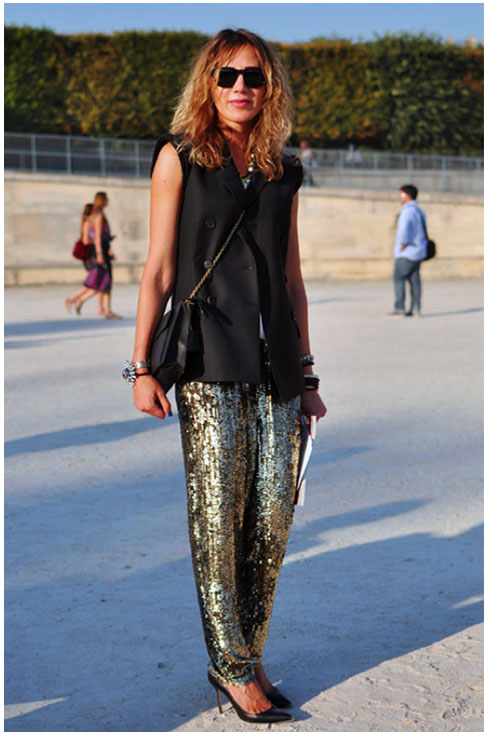
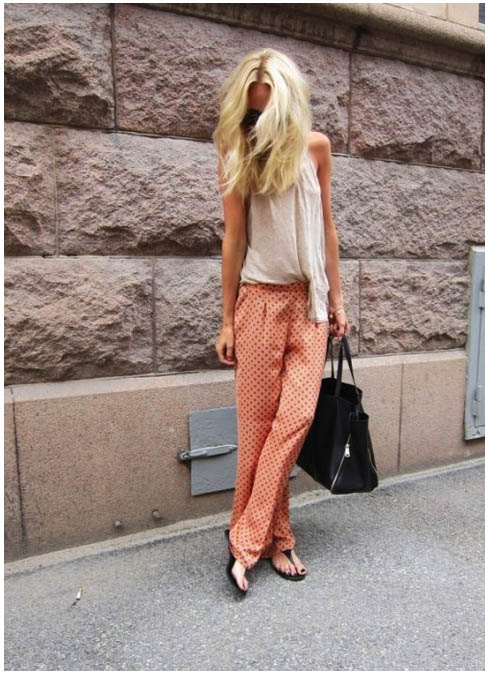
I've already worn pants twice this week people, twice!  That's major for a girl that rarely wears pants (dresses, skirts, and leggings under tunics are my jam).  Therefore I've been majorly crushing on girls who can rock a good slouchy pant.  I will definitely be attempting to recreate these looks.  Oh and those sequin slouchy pants, you had me at hello!

{black}, {stripe}, {sequins}, {pink}

diy tablecloth.

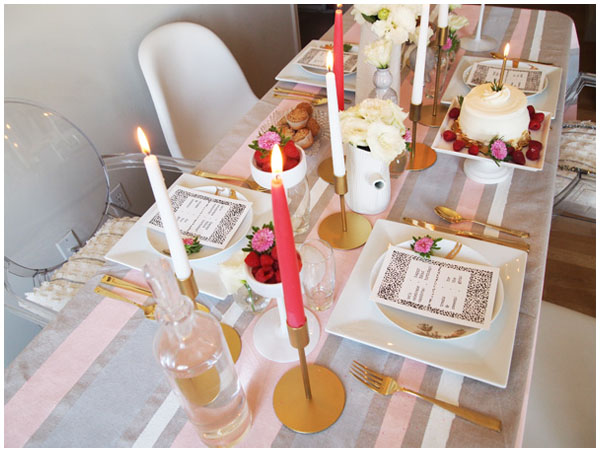
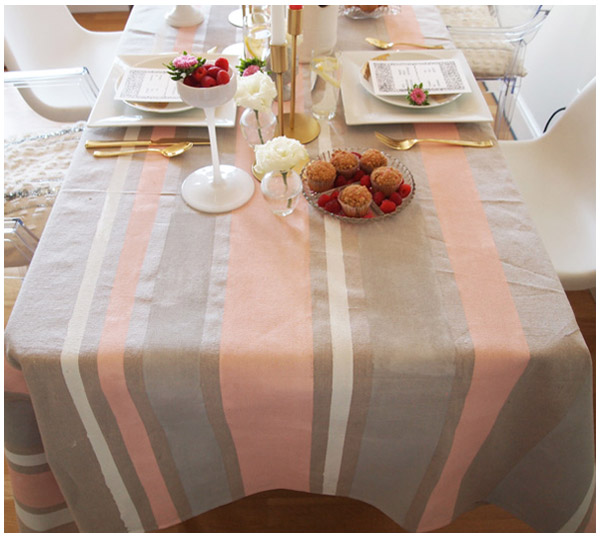
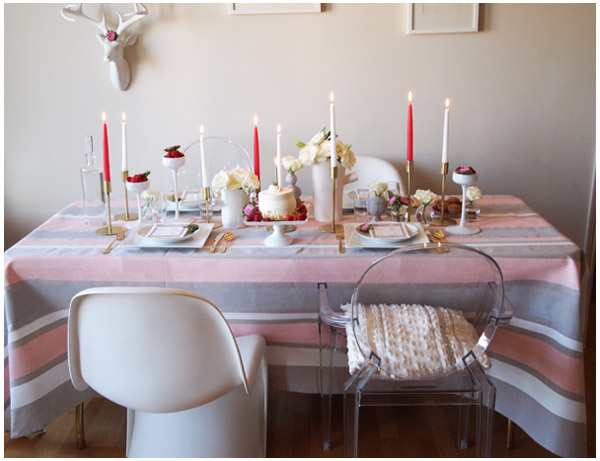
I hope you guys all enjoyed checking out the tabletop I put together over on Alison Events yesterday.  So today I wanted to share with you how I made that tablecloth.  I spotted this tablecloth on Anthropologie's site and instantly fell in love, but not with that $228 price tag.  So I used it as inspiration to create my own.  
supplies:

-1 canvas drop cloth (I bought mine at Home Depot for $24).  The size is up to you, but I wanted one that covered an 8' table, so I bought one that was 9' x 12' and then cut it down to size.

-paint.  I used regular old interior house paint from Home Depot.

-a small roller, paint brush, paint containers, a plastic drop cloth (larger size then your canvas drop cloth), blue painters tape.

what to do:

-The ideal location to paint your drop cloth would be a garage or outdoor space, but if you live in a small space like I do, you can still make it work.  First I cut the drop cloth down to the desired size (I literally placed it over the 8' table I wanted to use it on, decided how much I wanted it to drape, then cut).  I put a large plastic drop cloth down first to protect our hardwood floors.  Then I put the cloth drop cloth down and taped it down so it wouldn't shift around.  Also, I opened up all of my windows to make sure I had plenty of circulation.

-Next step is to tape off your drop cloth.  If you want to be precise you can use a ruler, but I wanted the finish product to look a bit random so I just eye balled the taping.  I just readjusted things as I placed the tape until I liked the look.  I also wanted the sizes of the stripes to be very random so I made sure the stripes were all slightly different sizes.

-Once everything is taped off (which by the way, this was the longest step in the process) then it's time to paint.  I chose three different colors (behr creamy peach, behr gentle rain & white).  Before painting I chose which stripe would be which color (again I didn't want two of the same colored stripes to be right next to one another, so by choosing in advance, I made sure that the final product was random looking).
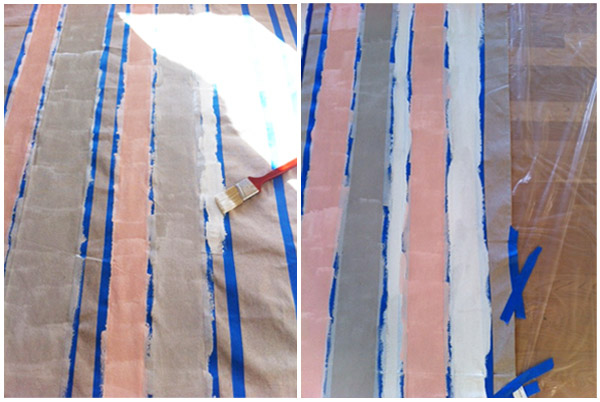
-Let the drop cloth dry (I let mine dry overnight).  Once it's dry, remove the painters tape and it's ready to be used.  YAY!  Hope you enjoyed this little diy project.  Super simple, yet it creates a big impact.
a birthday celebration.

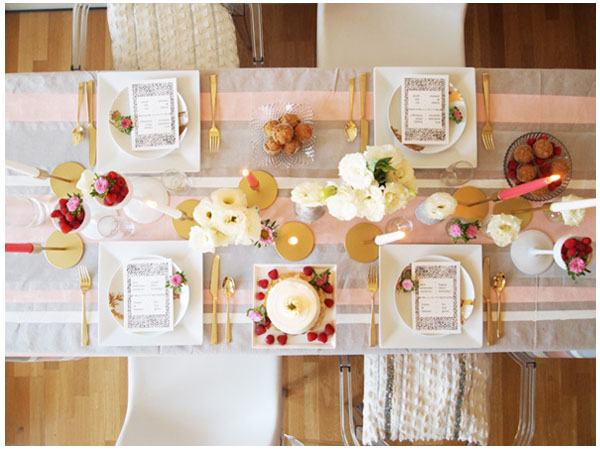
I am so so so excited to be sharing this fun and girly celebration I put together.  The girls at Alison Events asked me to create a post about styling a tabletop.  So head on over there today to see my version of throwing a friend the perfect little birthday party.  And check back here tomorrow, as I'll be sharing how I made that tablecloth.  Enjoy!

yay!

Woo Hoo, the weekend is here and it's a three-day-er...double yay!  Hope you all enjoy the long holiday, but be sure to pop back over here on Monday cause I have a fun diy tablescape I will be sharing.

{image}

a valentine's diy.

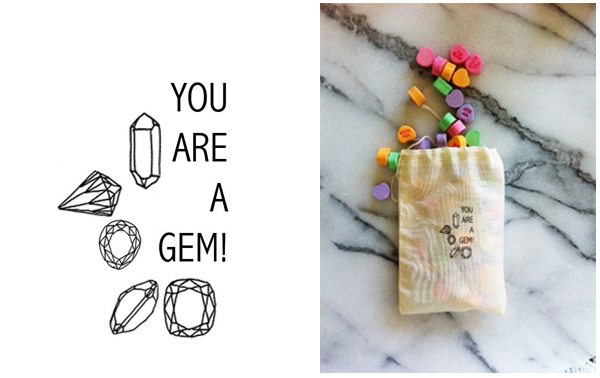
Happy Valentine's Day.  Like I mentioned yesterday, my husband and I don't really celebrate the holiday, but this year I decided to make some fun valentines.  I created a few cards and a few canvas bags filled with candy.  I wanted to share how to create these little bags.  It's super easy to do at home.

supplies:

canvas bags (I bought mine here in bulk, but you can get them at Michaels or Paper Source), ink jet tshirt transfer paper, a printer, iron, towel, candy.

what to do:

1. I started by making a simple design in adobe illustrator.  You can also make something on word it you don't have illustrator.  

2. After you have finished the image, you need to mirror the image.  (varies slightly from program, but you will need to rotate the image by flipping it horizontally so that it is backwards).

3. Print out the image on the transfer paper, then cut down to size.

4. Put down a towel, then place the image down where you want it on the canvas bag, image side down.  

5. Iron the image on the bag (I also put a small piece of cardboard into the canvas bag just so the front and back of the bag were well separated).  Wait for it to cool down, then pull the backing off of the transfer paper.

6. Add candy and give to your valentine.

xoxo!

snail mail.

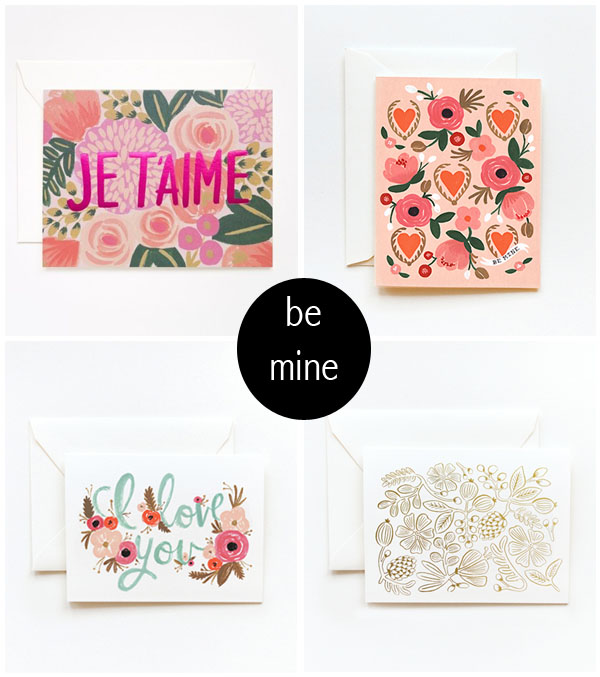
Valentine's Day is right around the corner.  To be completely honest, G and I don't usually celebrate this holiday, but this year I'm sending out a few valentines to our family members and I think it's a tradition that I would like to continue.  It's definitely a great excuse to send the special people in your life a little card to let them know you are thinking of them.  I just love love love getting cards in the mail and am making a huge effort to try and send them out.  When life tends to be all about the digital message (ie. instagram, twitter, facebook, and the abundance of emails) sometimes receiving a little something via snail mail brings so much old school joy.  

{rifle paper co}